Transform Your Outdated NVMe Drive into a Blazing-Fast Portable SSD
Introduction
When you upgrade to a newer, faster NVMe SSD (like a Gen 5 drive), the old one often ends up in a drawer, gathering dust. It feels too slow for your main rig, but throwing it away seems wasteful. The solution is simpler than you think: that old NVMe drive can become an incredibly fast external USB drive. With the right enclosure, it will outperform most regular USB sticks and even many portable SSDs. Here’s how to give your retired NVMe a second life as a high-speed portable storage device.
What You Need
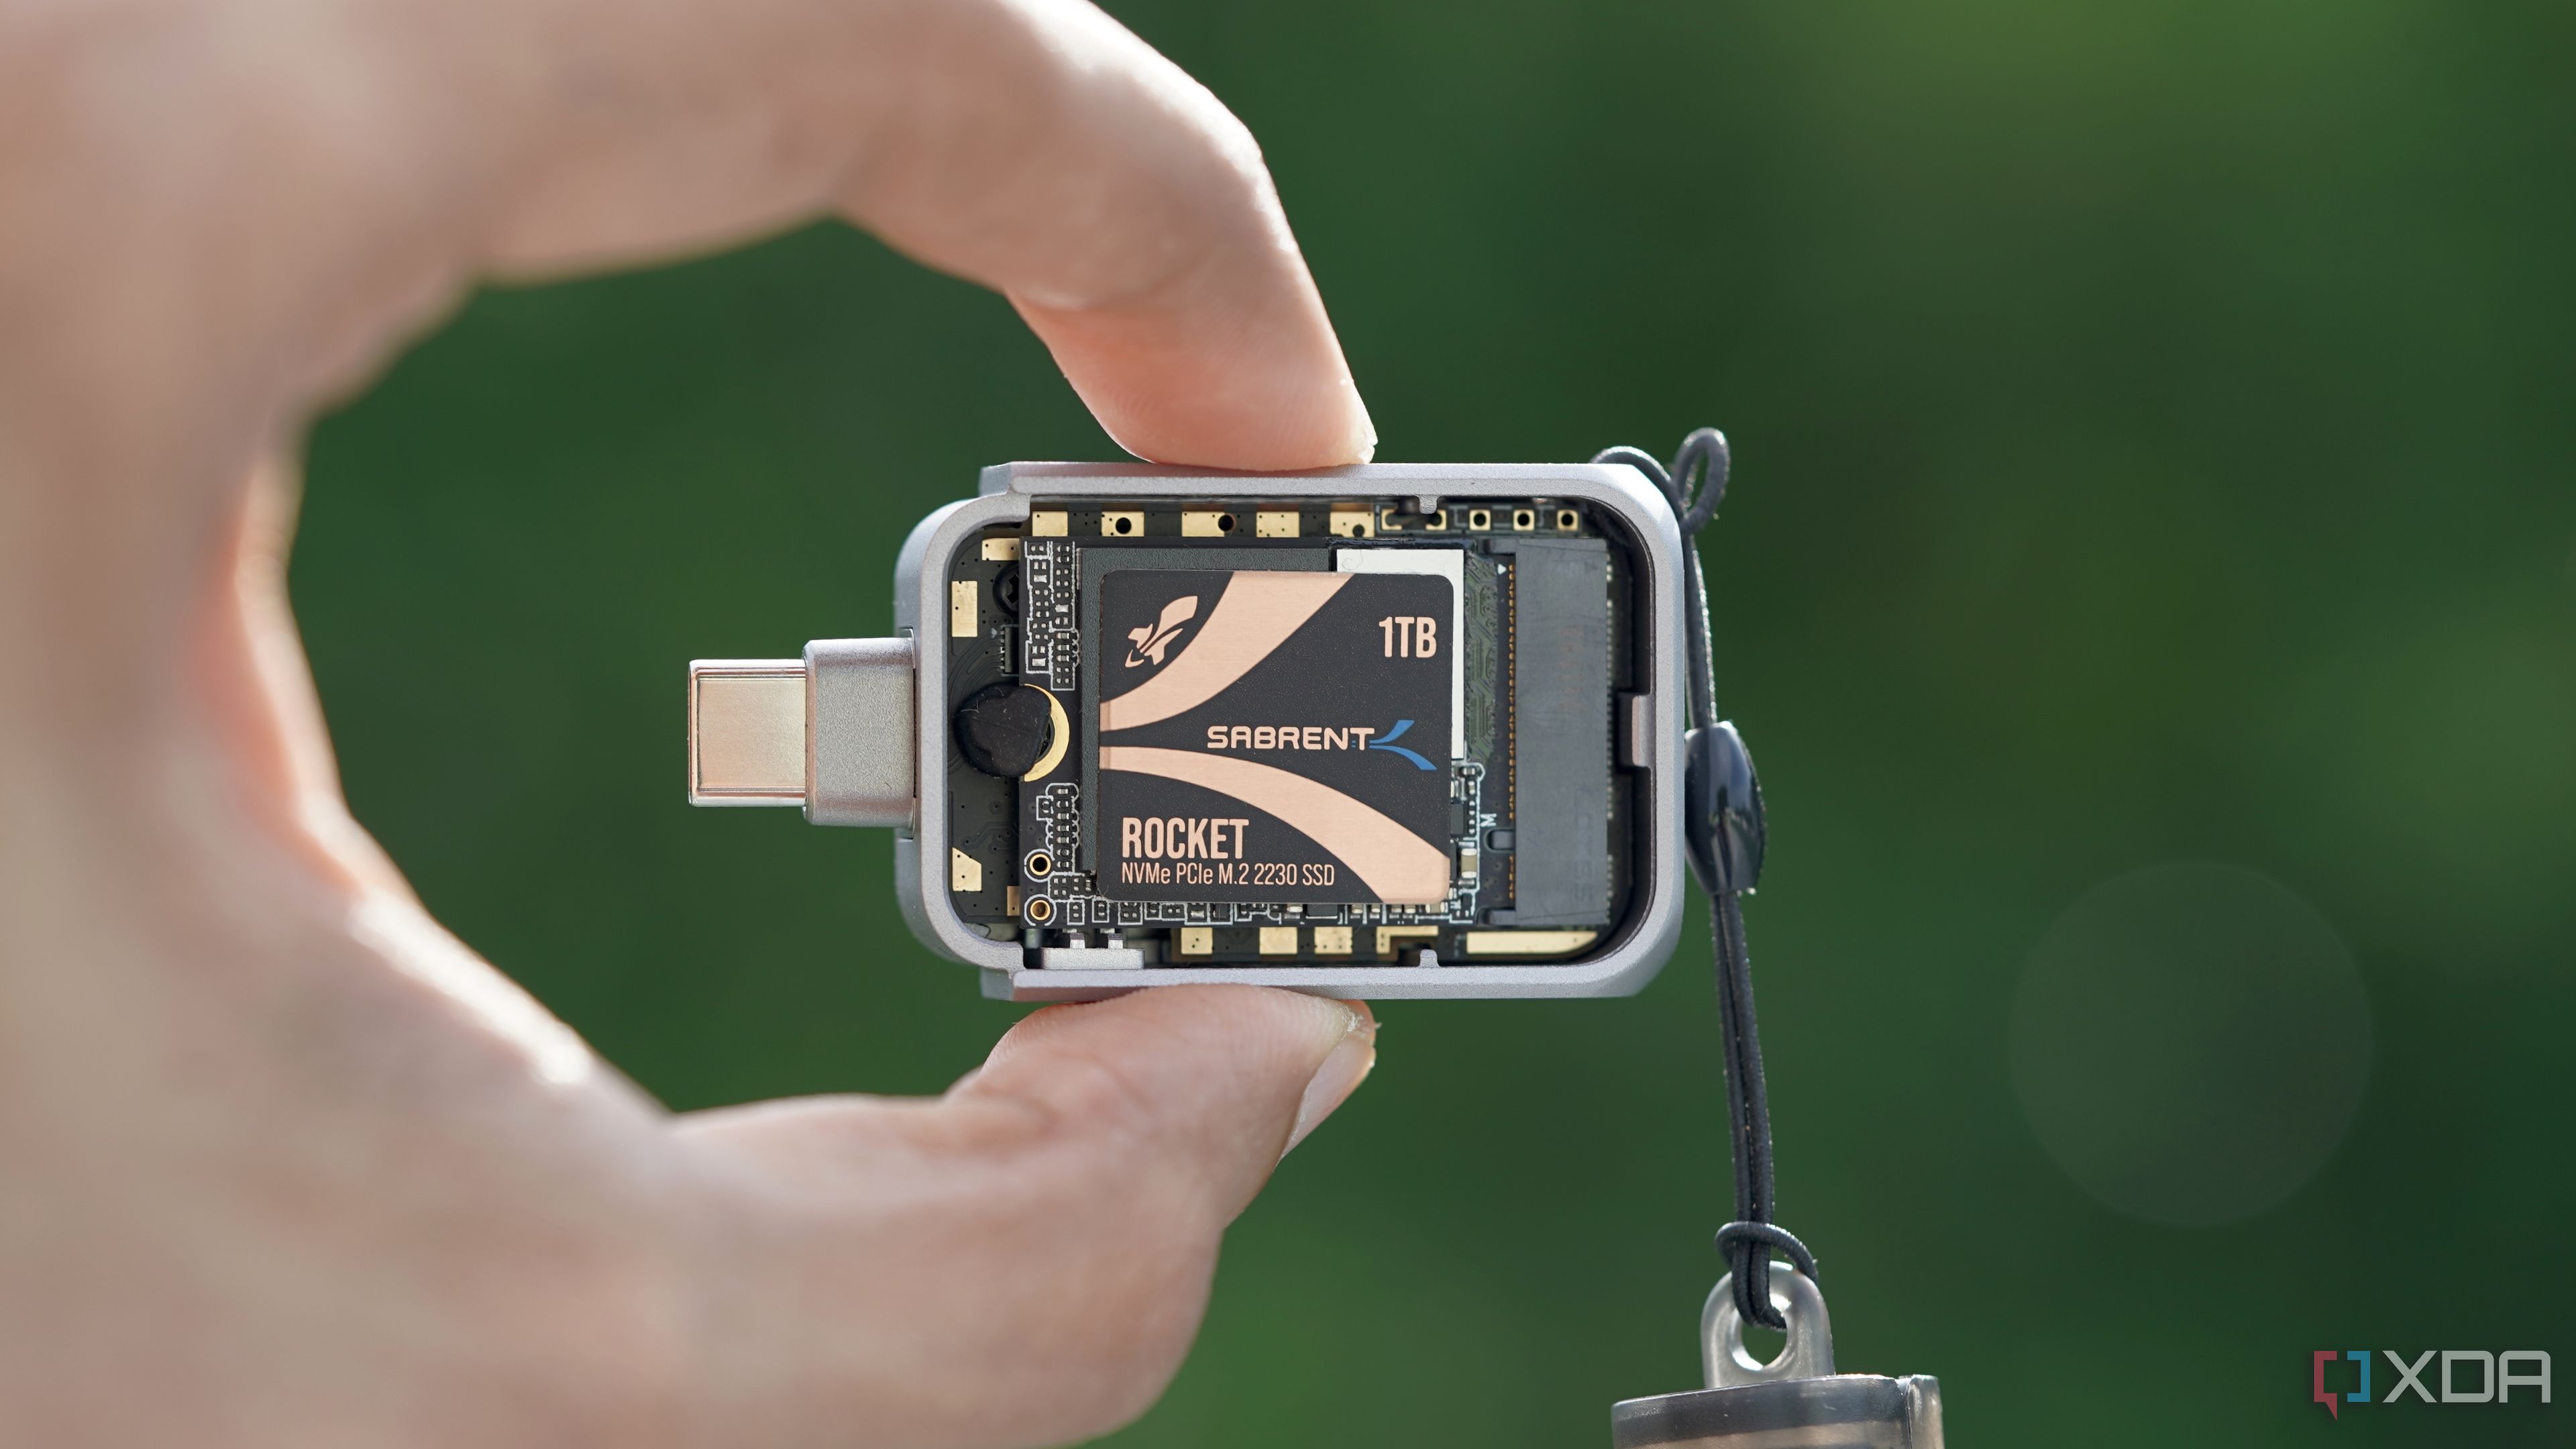
- An old NVMe SSD (any generation: PCIe 3.0, 4.0, or even 5.0 – though 5.0 enclosures are rare). Ensure it’s an M.2 key M or M+B drive (the most common type).
- An NVMe enclosure – choose one that matches your drive’s physical size (2230, 2242, 2260, 2280, or 22110) and supports the correct USB protocol (e.g., USB 3.2 Gen 2 for 10Gbps, or Thunderbolt for faster speeds).
- A USB cable – usually USB-C to C or USB-C to A, often included with the enclosure.
- A small screwdriver (typically Phillips #0 or #1) to open the enclosure and secure the drive.
- An optional thermal pad (if the enclosure doesn’t include one) to help dissipate heat.
- A computer for accessing the drive and formatting (Windows, macOS, or Linux).
Step-by-Step Guide
Step 1: Gather Your Tools and Drive
Locate your old NVMe drive and place it on a clean, static-free surface. Have the enclosure, cable, and screwdriver ready. Check that the enclosure supports your drive’s size (e.g., 2280 is the most common). If you bought a new enclosure, it usually includes a screw and sometimes a thermal pad.
Step 2: Open the NVMe Enclosure
Most enclosures slide open or have two halves that snap apart. Some use small screws; unscrew those with the Phillips driver. Be gentle – the circuit board inside is delicate. Look for the M.2 slot where the drive will plug in.
Step 3: Install the NVMe Drive
Hold the drive by its edges (avoid touching the gold contacts or components). Align the notch on the drive’s edge with the key in the M.2 slot. Insert the drive at a slight angle (about 30 degrees) and push it in gently until it’s fully seated. Then press the drive down flat against the standoff and secure it with the screw provided. Do not overtighten – just snug is enough.
Step 4: Apply Thermal Management (If Needed)
Some enclosures come with a thermal pad inside the lid to transfer heat from the drive to the metal case. If yours has it, peel the protective film and place the pad over the drive’s controller chip (the largest chip). If there’s a slot for a pad, use it; otherwise, you can skip this step. Good heat dissipation prolongs drive life during heavy writes.
Step 5: Close the Enclosure
Align the top half of the enclosure with the bottom (mind any thermal pad alignment) and snap or screw it shut. Ensure no cables are pinched. The drive should be snug but not forced.
Step 6: Connect to Your Computer
Use the included USB cable to plug the enclosure into a USB port on your computer. Ideally, use a USB 3.2 Gen 2 (10Gbps) or Thunderbolt port to avoid bottlenecking the drive. On Windows, you should hear a connection sound. On macOS, the drive may appear on the desktop (depending on formatting).

Step 7: Format the Drive (Optional but Recommended)
If the drive is new or was previously used, formatting ensures compatibility and optimal performance. For Windows: Open Disk Management (right-click Start > Disk Management), locate the new disk (be careful to select the right one), right-click, and select Format. Choose a file system: NTFS for Windows only, exFAT for cross-platform (Windows + macOS), or FAT32 for legacy devices. Set allocation unit size to default. For macOS: Use Disk Utility, select the external drive (often called “untitled”), click Erase, choose APFS (for Mac only) or exFAT, and confirm. For Linux: Use fdisk or GParted to create a partition and format with ext4 or exFAT.
Step 8: Test the Drive
Copy some files (large and small) to the drive to confirm it works. Performance should be significantly higher than a typical USB flash drive – expect sequential read/write speeds between 800 MB/s and 1000 MB/s over USB 3.2 Gen 2. (Gen 5 NVMe drives may get capped at around 3500 MB/s if the enclosure supports USB 4 or Thunderbolt.)
Tips for Best Results
- Don’t expect to saturate a Gen 5 drive. Most enclosures top out at 10Gbps (USB 3.2 Gen 2) or 20Gbps (USB 3.2 Gen 2x2). A PCIe 3.0 or 4.0 NVMe is a perfect match.
- Use a cable that supports your port speed. A USB-C to C cable with USB 3.2 Gen 2 capability will deliver the fastest speeds. If you must use USB-A, check that the port is USB 3.0 or higher.
- Keep the drive cool. Intensive file transfers generate heat. If the drive gets very hot, consider an enclosure with a heatsink or take short breaks between large operations.
- Label the enclosure. Since it’s external, write its capacity or use a sticker to avoid confusion with other drives.
- Use it as a bootable drive. You can install a portable OS (like Windows To Go or Linux Live) on it for troubleshooting or a secondary workstation.
- Check compatibility before buying an enclosure. Some older NVMe drives (like those based on the SM2263 controller) may have issues with certain USB-to-PCIe bridge chips. Read reviews.
- Eject properly. Always safely remove the drive before unplugging to avoid data corruption.
- Consider encryption. Use BitLocker (Windows) or FileVault (macOS) to protect data if you carry the drive around.